In this post, we will see how to install android studio and get started with android development. I will provide guidelines to install android studio on Mac OS but it will be very much similar in case of windows or linux too.
We will divide this post into three parts.
We will divide this post into three parts.
- Setting up java JDK
- Downloading and installing Android studio
- Setting up Android SDK
Setting up java JDK:
Android studio requires JDK to be installed on the machine. If you are working with latest version of android studio, it is recommended to have JDK8.
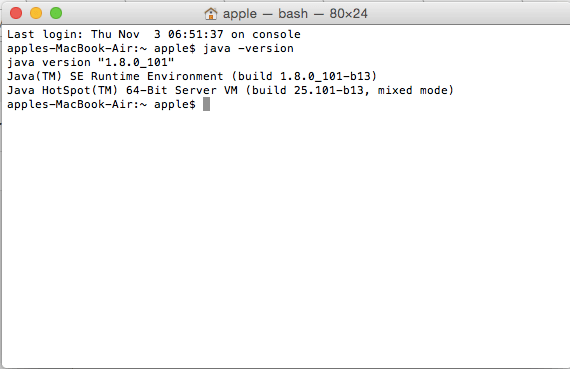
Lets check if you have java installed or not.
- Open terminal in Mac OS
- Write “java -version” in terminal as below
If you get java version as above, java is installed on your machine.
If you get command not found, then you need to download and install JDK 8.
Download and install Android studio :
- Go to https://developer.android.com/studio/index.html.
- Download dmg file from the link which is on above webpage.
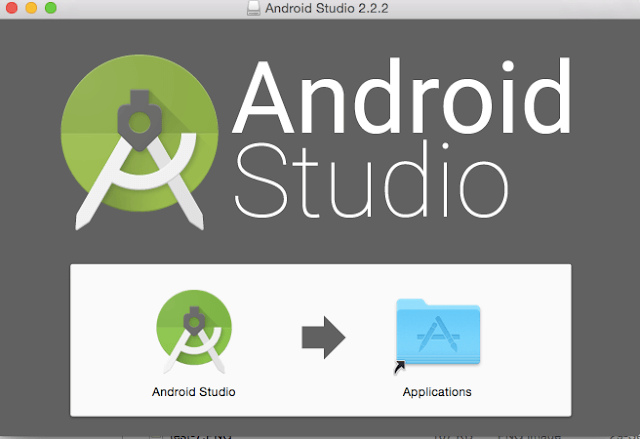
- Double click on dmg file and you will get below screen.
- Drag above android studio to applications.
- Open Android studio app from applications now.
- You will see below screen.
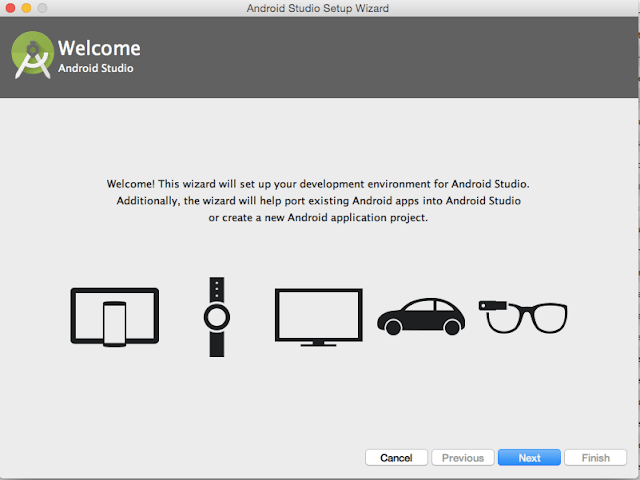
Click on next, you will get below screen,
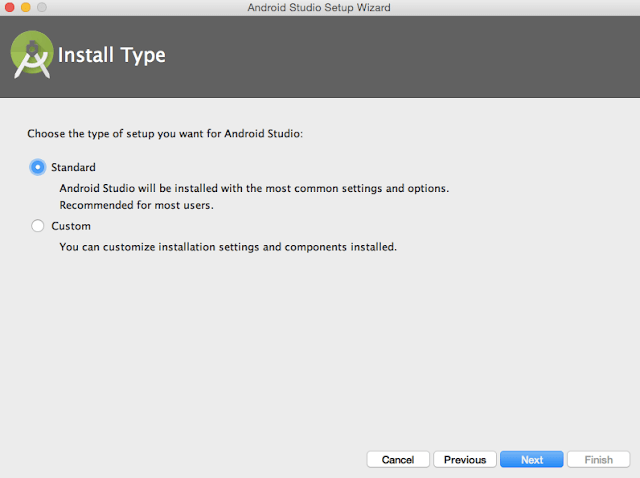
Choose Standard Android studio installation and click on next.
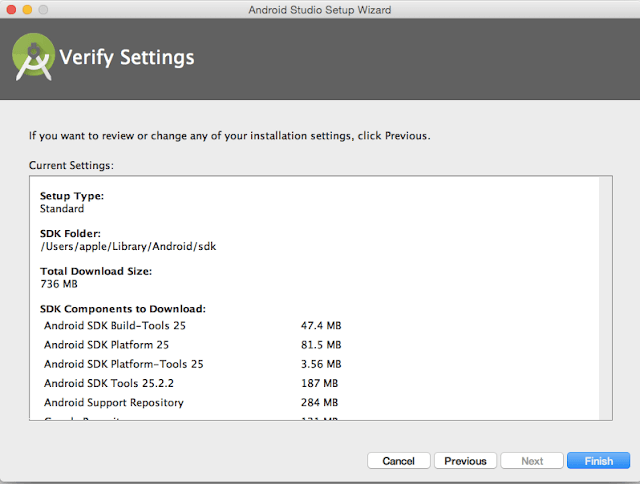
Click on Finish
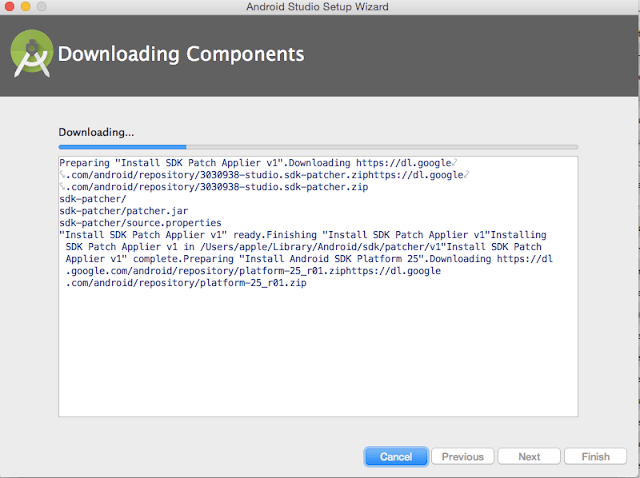
It will automatically download require SDK platform. Please note that it will take some time to download android SDK files as it is very large in size.
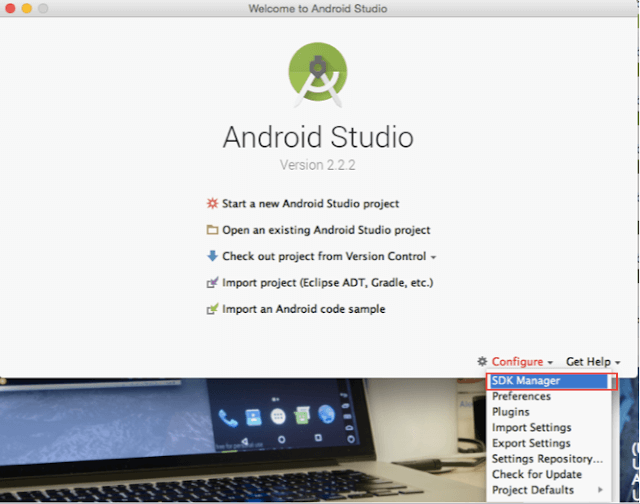
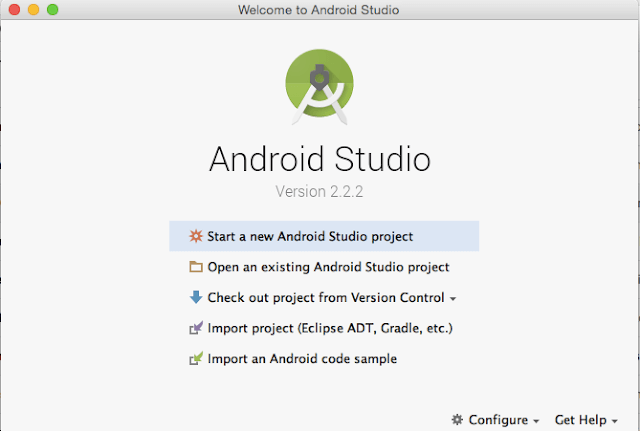
Once done, click on finish and then you will get below screen.
Setting up Android SDK
Once you have downloaded Android studio, you can configure Android SDK for complete android app development.
Click on Configure in above picture
Click on SDK Manager as shown in above picture.
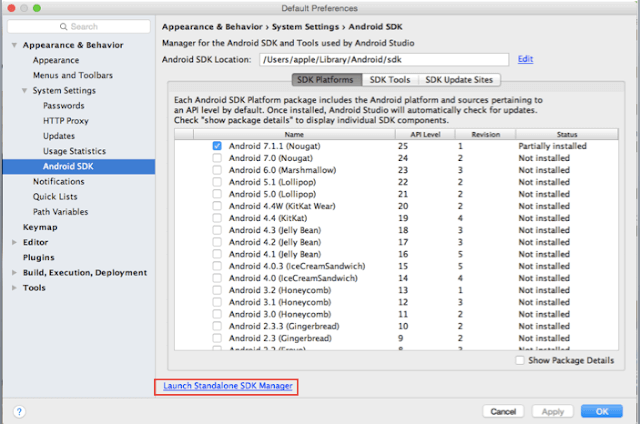
Click on “Launch Standalone SDK Manager” as shown in above image
You will see below screen.
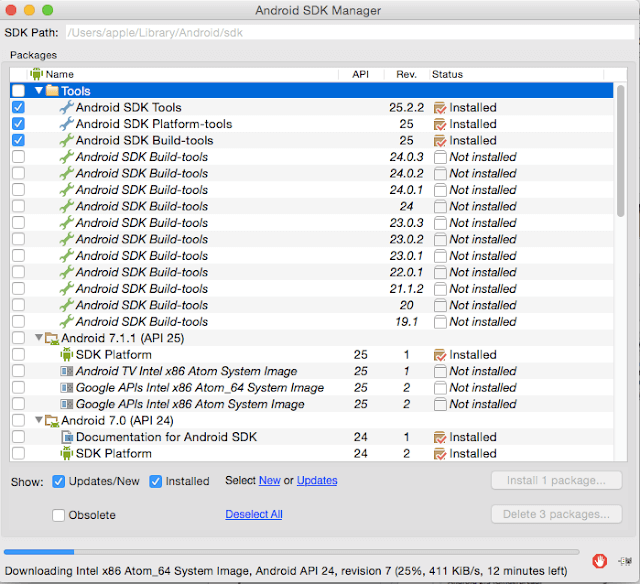
I have selected the components which you need to download and install.
Click on Tools to minimize it and click on version which you want to install. In my case, I am installing Android 7.0 (API 24).
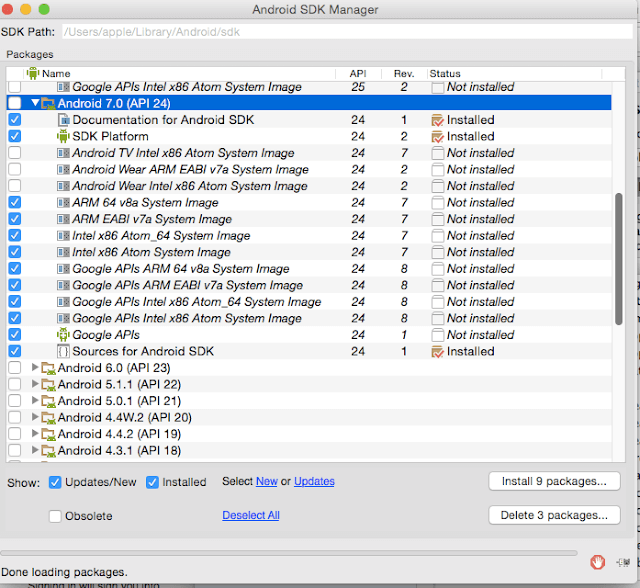
You can download all files for API 24, but it will take time. I have selected the files which you may choose to download and install.
Click on “extras” which you will see at the end.

I have selected items which you need to download and install. Click on install package once you select above selected items.
Once you follow above steps, you have prepared platform for developing android app. Please comment if you find any issues with above steps
Happy Android learning!!
Was this post helpful?
Let us know if this post was helpful. Feedbacks are monitored on daily basis. Please do provide feedback as that\'s the only way to improve.


