
In this tutorial, we will see about Spring boot profiles.
Need for profiles
Application development is complex process. You might have different environment for application development.
- Dev
- SIT
- QA
- Prod
We require different configuration based on the environment.
For example: Using a different database or different queues.
Let’s create a simple spring boot application.
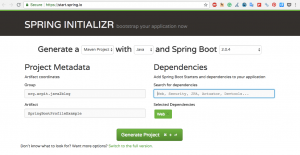
Step 1: Go to https://start.spring.io/ and create spring boot projects as per below screenshot.
Step 2: Import the maven project in eclipse.
step 3: Create a package named "org.arpit.java2blog.controller"
create a controller class named "HelloWorldController.java"
package org.arpit.java2blog.controller;
import org.springframework.beans.factory.annotation.Value;
import org.springframework.web.bind.annotation.GetMapping;
import org.springframework.web.bind.annotation.RestController;

@RestController
public class WelcomeController {

    @Value("${message}")
    String message;

    @GetMapping("/welcome")
    public String getMessage()
    {
        return "Hi "+message;
    }
}
Step 4: Put “message=java2blog” in application.properties.
message= java2blog
Step 5: Create a package named “org.arpit.java2blog”
create a class named “SpringBootHelloWorldApplication.java”
package org.arpit.java2blog;
package org.arpit.java2blog;

import org.springframework.boot.SpringApplication;
import org.springframework.boot.autoconfigure.SpringBootApplication;

@SpringBootApplication
public class SpringBootProfileExample {

    public static void main(String[] args) {
        SpringApplication.run(SpringBootProfileExample.class, args);
    }
}
Step 6: Run the application
When you run above application, you will get below output:
…
2018-08-03 10:40:21.649 INFO 27143 — [ main] o.a.java2blog.SpringBootProfileExample : Started SpringBootProfileExample in 4.693 seconds (JVM running for 5.474)
2018-08-03 10:40:36.761 INFO 27143 — [nio-8080-exec-1] o.a.c.c.C.[Tomcat].[localhost].[/] : Initializing Spring FrameworkServlet ‘dispatcherServlet’
2018-08-03 10:40:36.762 INFO 27143 — [nio-8080-exec-1] o.s.web.servlet.DispatcherServlet : FrameworkServlet ‘dispatcherServlet’: initialization started
2018-08-03 10:40:36.789 INFO 27143 — [nio-8080-exec-1] o.s.web.servlet.DispatcherServlet : FrameworkServlet ‘dispatcherServlet’: initialization completed in 27 ms
Step 7:Go to browser and browse url “http://localhost:8080/welcome”
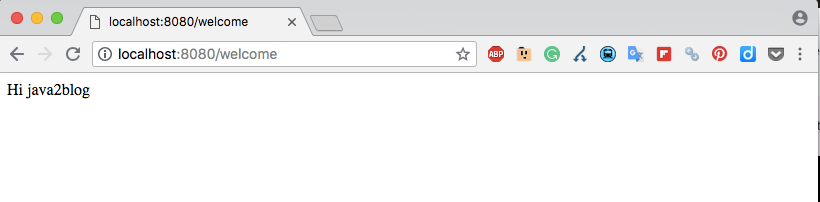
As you can see, we are able to fetch “message” from application.properties.
Profiles for environment specific properties
Let’s configuration two profile- dev and prod for demonstration.
You need to create .properties file with application-"$ProfileName".
For example:
For dev profile, you need to crate application-dev.properties, so whatever you put in application-dev.properties, it will override properties from application.properties.
Suppose you need to start qa profile at port “8081”, you can put following entry in application in application-qa.properties
server.port=8081
Let’s create two properties file for our application.
For dev profile
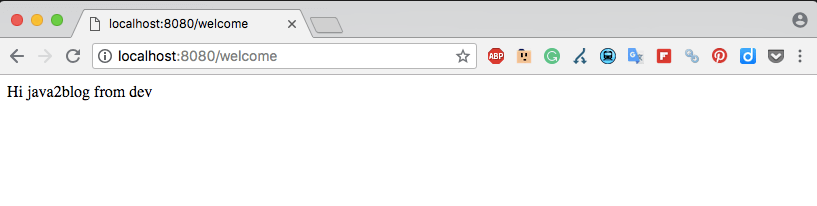
message = java2blog from dev
For prod profile
message = java2blog from prod
Setting active profile
When you run spring boot application, you need to set active profile. There are multiple ways to set active profile.
- By using
-Dspring.profiles.active=devin VM Arguments - By using
spring.profiles.active=devin application.properties
Let’s run the application with dev profile now. We will put spring.profiles.active=dev in VM arguments and click on run.
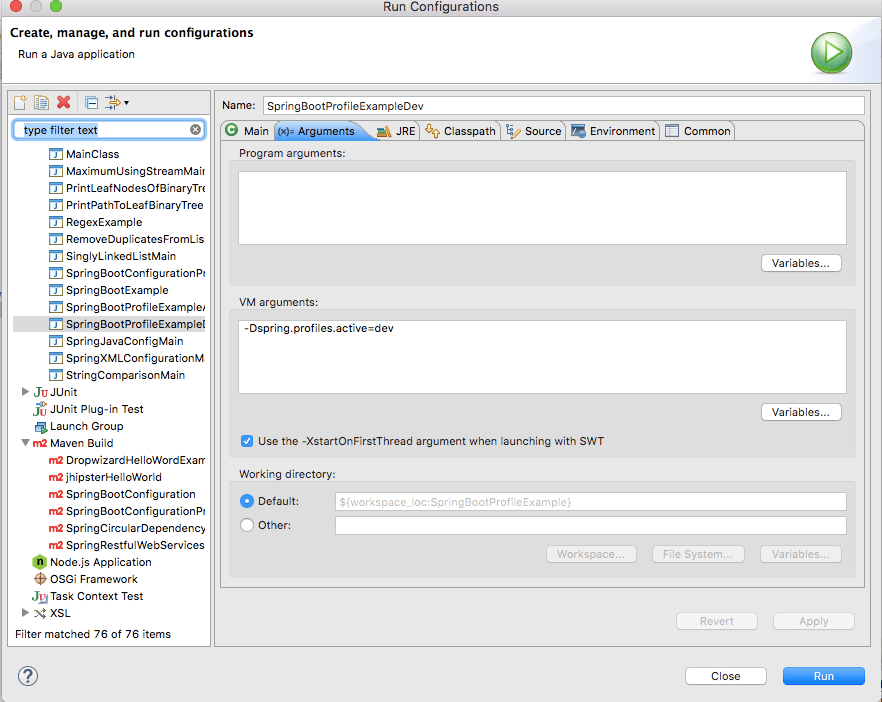
When you run the application and browse http://localhost:8080/welcome”.
Spring boot @Profile annotation
You can use @Profile annotation in java configuration to create profile based configuration.
Project Structure
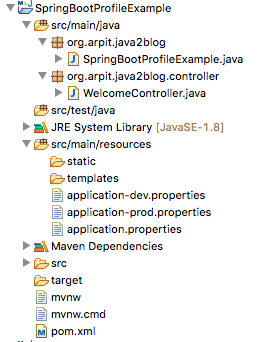
Source code
That’s all about Spring boot profiles.