Table of Contents
In this tutorial,we will see how we can develop JAX-WS endpoint and client step by step.
Web service Tutorial Content:
- Introduction to web services
- Web services interview questions
- SOAP web service introduction
- RESTful web service introduction
- Difference between SOAP and REST web services
- SOAP web service example in java using eclipse
- JAX-WS web service eclipse tutorial
- JAX-WS web service deployment on tomcat
- Create RESTful web service in java(JAX-RS) using jersey
- RESTful web service
- JAJSONexample using jersey
- RESTful web service
- JAXRS CRUD example using jersey
- AngularJS RESTful web service
- JAXRS CRUD example using $http
- RESTful Web Services (JAX-RS) @QueryParam Example
- Spring Rest simple example
- Spring Rest json example
- Spring Rest xml example
- Spring Rest CRUD example
Prerequisites
- JDK 1.6
- Eclipse IDE
Steps for creating JAX-WS webservice endpoint.
1) Open Eclipse IDE
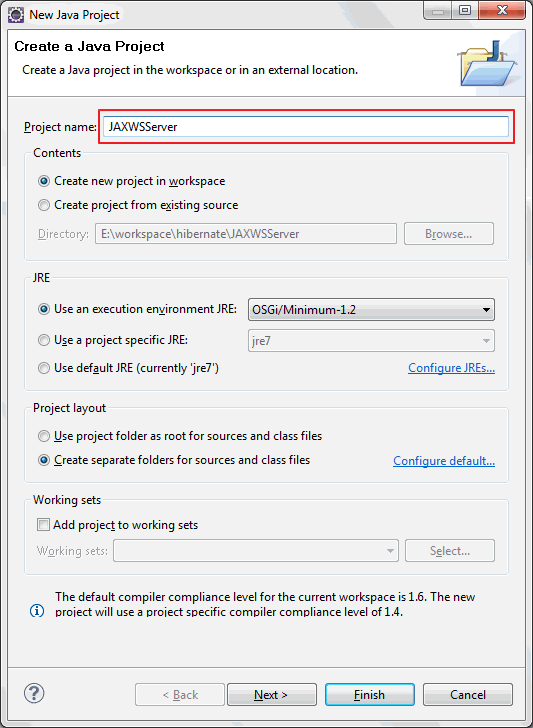
2) Create java project named “JAXWSServer”
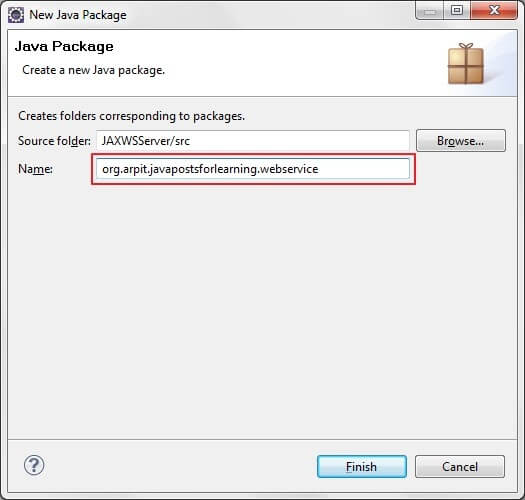
3)Create new package named “org.arpit.javapostsforlearning.webservice”
4)Create JAXWSService Endpoint Interface.
HelloWorld.java
|
1 2 3 4 5 6 7 8 9 10 11 |
package org.arpit.javapostsforlearning.webservice; import javax.jws.WebMethod; import javax.jws.WebService; @WebService public interface HelloWorld { @WebMethod public String helloWorld(String name); } |
5)Create JAXWSService Endpoint implementation class.
HelloWorldImpl.java
|
1 2 3 4 5 6 7 8 9 10 11 12 13 |
package org.arpit.javapostsforlearning.webservice; import javax.jws.WebService; @WebService(endpointInterface="org.arpit.javapostsforlearning.webservice.HelloWorld") public class HelloWorldImpl implements HelloWorld{ public String helloWorld(String name) { return "Hello world from "+name; } } |
6) Create Endpoint publisher.
HelloWorldWSPublisher.java
|
1 2 3 4 5 6 7 8 9 10 |
package org.arpit.javapostsforlearning.webservice; import javax.xml.ws.Endpoint; public class HelloWorldWSPublisher { public static void main(String[] args) { Endpoint.publish("http://localhost:8080/WS/HelloWorld",new HelloWorldImpl()); } } |
Run above program.Your webservice is published.You can check your service wsdl at http://localhost:8080/WS/HelloWorld?wsdl
Steps for creating JAXWS Client
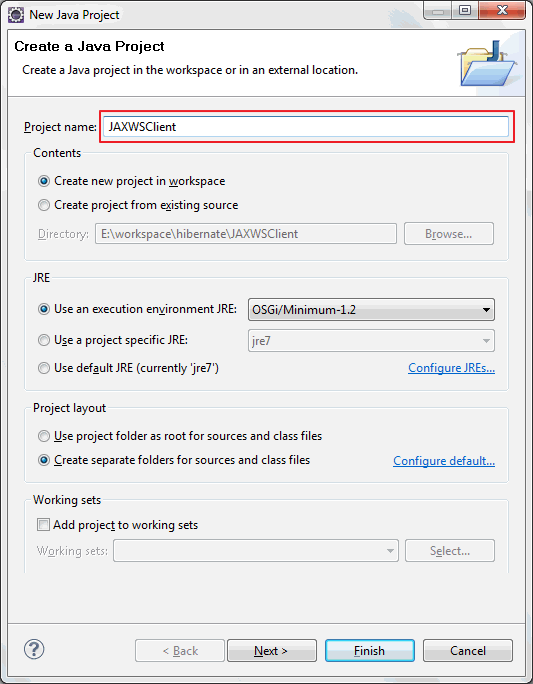
1)Open eclipse and create a new java project JAXWSClient.
3) Now we need to generate the client stubs.So open your command line, and enter the wsimport command:
|
1 2 3 4 |
cd %project_home%/src wsimport -s . http://localhost:8080/WS/HelloWorld?wsdl |
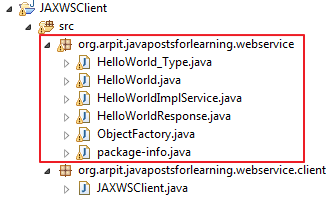
you will find java classes generated and compiled under src->org->arpit->javapostsforlearning->webservice
4) Lets create client class now.
create JAXWSClient.java under src->org.arpit.javapostsforlearning.webservice.client
|
1 2 3 4 5 6 7 8 9 10 11 12 13 14 15 16 17 18 |
package org.arpit.javapostsforlearning.webservice.client; import org.arpit.javapostsforlearning.webservice.HelloWorld; import org.arpit.javapostsforlearning.webservice.HelloWorldImplService; public class JAXWSClient { /** * @author Arpit Mandliya */ public static void main(String[] args) { HelloWorldImplService helloWorldService = new HelloWorldImplService(); HelloWorld helloWorld = helloWorldService.getHelloWorldImplPort(); System.out.println(helloWorld.helloWorld("Arpit")); } } |
5) Run above program and you will get following output.
|
1 2 3 |
Hello world from Arpit |
Congratulation, you have successfully created web service endpoint and client.Now in next post, we will deploy it on Tomcat.