Table of Contents
This is 4 of 16 parts of tutorial series
Tutorial Content: Spring tutorial for beginners
- Introduction to spring framework
- Spring interview questions
- Dependency injection(ioc) in spring
- Spring hello world example in eclipse
- Spring java based configuaration
- Dependency injection via setter method in spring
- Dependency injection via constructor in spring
- Spring Bean scopes with examples
- Initializing collections in spring
- Beans Autowiring in spring
- Inheritance in Spring
- Spring ApplicationContext
- Spring lifetime callbacks
- BeanPostProcessors in Spring
- Annotation based Configuration in spring
- Spring AOP tutorial
After having some basic understanding of spring framework now we are ready to create Hello world example.
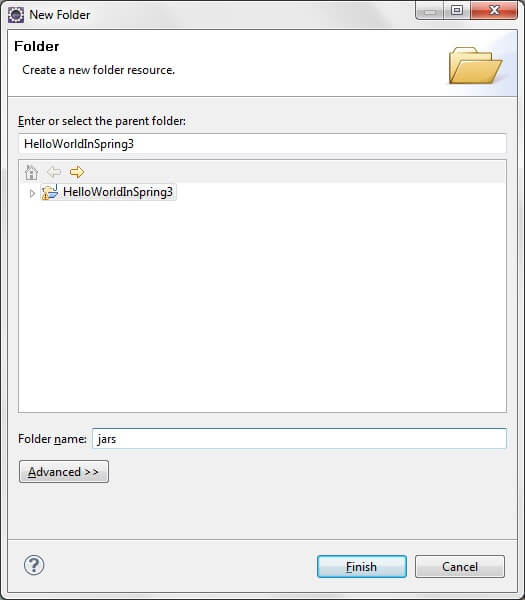
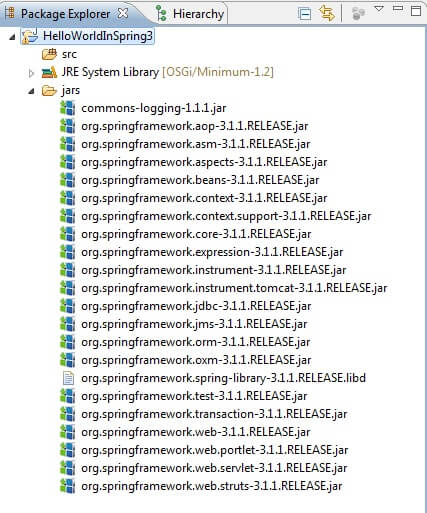
Firstly download required jars and docs from Spring Downloads | SpringSource.org
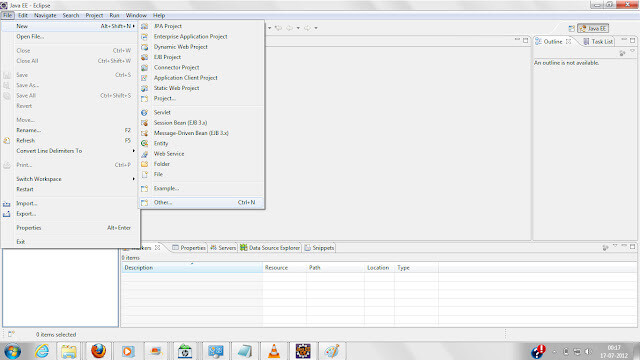
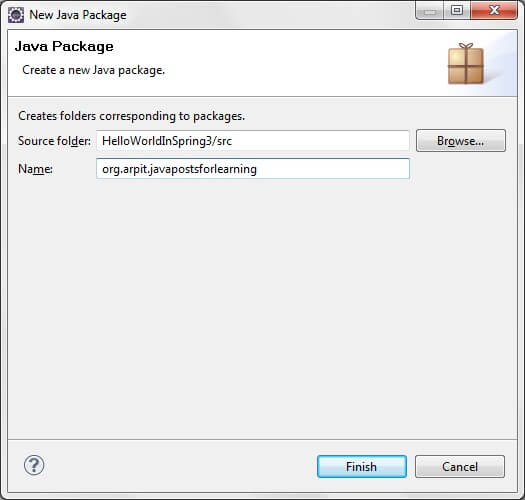
Now, In eclipse IDE,click on File->new->Click on other and then select java project


Spring hello world example
|
1 2 3 4 5 6 7 8 9 10 11 12 13 14 15 16 17 18 19 20 21 22 |
package org.arpit.javapostsforlearning; public class Spring3HelloWorld { String name; public void printHello() { System.out.println("Hello World from "+name); } public String getName() { return name; } public void setName(String name) { this.name = name; } } |
|
1 2 3 4 5 6 7 8 9 10 11 12 13 |
<?xml version="1.0" encoding="UTF-8"?> <beans xmlns="http://www.springframework.org/schema/beans" xmlns:xsi="http://www.w3.org/2001/XMLSchema-instance" xmlns:aop="http://www.springframework.org/schema/aop" xsi:schemaLocation="http://www.springframework.org/schema/beans http://www.springframework.org/schema/beans/spring-beans-3.0.xsd"> <bean id="Spring3HelloWorldBean" class="org.arpit.javapostsforlearning.Spring3HelloWorld"> <property name="name" value="arpit"/> </bean> </beans> |
tag is for defining a single bean.
“class” is fully qualified name of class
“property” is used for defining attribute of bean class.
The above xml file declares the spring bean “Spring3HelloWorldBean” of the class org.arpit.javapostsforlearningSpring3HelloWorld.
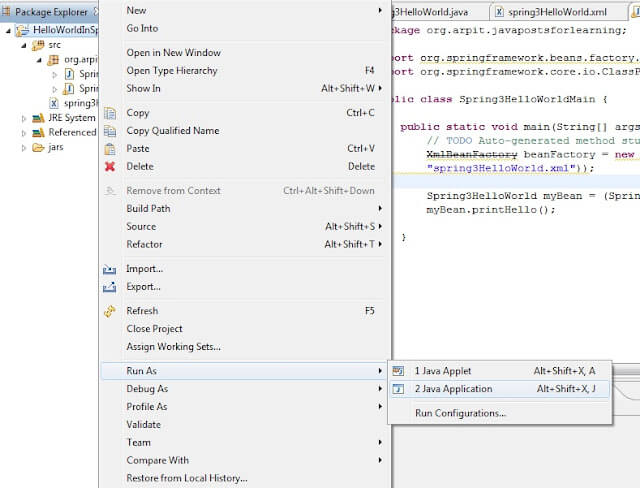
Create another java file named “Spring3HelloWorldMain.java” under package org.arpit.javapostsforlearning.Copy following content in “Spring3HelloWorldMain.java” file
|
1 2 3 4 5 6 7 8 9 10 11 12 13 14 15 16 17 18 |
package org.arpit.javapostsforlearning; import org.springframework.beans.factory.xml.XmlBeanFactory; import org.springframework.core.io.ClassPathResource; public class Spring3HelloWorldMain { public static void main(String[] args) { ApplicationContext beanFactory = new ClassPathXmlApplicationContext("spring3HelloWorld.xml"); Spring3HelloWorld myBean = (Spring3HelloWorld) beanFactory.getBean("Spring3HelloWorldBean"); myBean.printHello(); } } |
In the above code, we have created the instance of ApplicationContext and the retrieved the “Spring3HelloWorldBean”. Then we called the printHello() method on the bean.
Run program:
Output is :
|
1 2 3 |
Hello World from arpit |
That’s all about Spring hello world example.
In next post, we will see dependency injection via setter method.